Stormwater - Planning User Manual
Operational view for reviewing configuration and calculated scenario results
1. Introduction
1.1 Application structure
The Stormwater Planning application is divided into two main areas: Planning and Planning Backoffice.
Planning is the operational area where users review the committed configuration and calculated scenario results. It is documented on this page.
Planning Backoffice is the configuration area where administrative users prepare the data used by the Planning module. It is documented separately in the Stormwater Planning Backoffice manual.
1.2 User roles
The system contains three main user roles.
- System Admin - full administrative access.
- Organization Admin - administrative access within the assigned organization.
- Standard User - regular operational access without Planning Backoffice editing rights.
2. Common user interface elements
2.1 Top bar overview
The top bar contains the standard navigation elements used across the application. These elements allow the user to move between applications, regions, organizations, and profile settings.

Figure 1. Top bar overview with the logo, application name, Region selector, organization name, and user profile button.
2.2 Logo and home page navigation
The logo is located in the upper left corner. Clicking the logo takes the user to the main page.
2.3 Application selector
Next to the logo there is the application name. Clicking the application name opens the application selector menu. This menu allows the user to move between available application areas, for example Planning and Planning Backoffice.
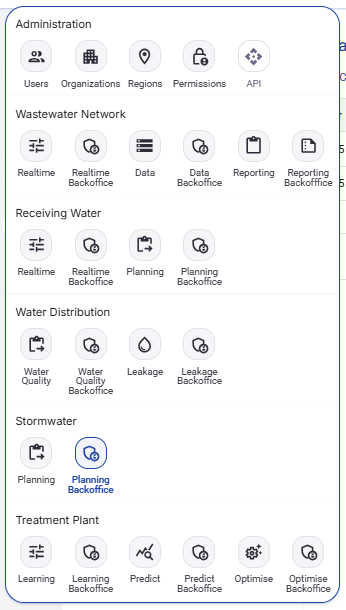
Figure 2. Application selector menu with the available application areas, including Stormwater Planning and Planning Backoffice.
2.4 Region selector
In the top bar, next to the application selector, there is a Region selector. If more than one region is available, the user can select the active region here. If only one region exists in the current application instance, the Region selector is disabled and appears greyed out.
2.5 Organization name
In the upper right area the application shows the name of the organization for the currently logged-in user.
2.6 User profile menu
On the far right there is the user profile button. Clicking it opens the user profile menu. From this menu the user can open the profile page, enter Planning Backoffice if access is available, change the language, change the theme, or log out.
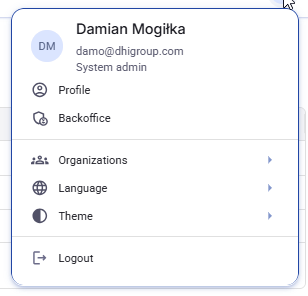
Figure 3. User profile menu with Profile, Backoffice, Organizations, Language, Theme, and Logout actions.
2.7 User profile page and password change
The Profile option opens the user profile page. This page shows the basic account data and contains the Change password action. The password change window opens from that page. The user enters the new password and confirms the change.
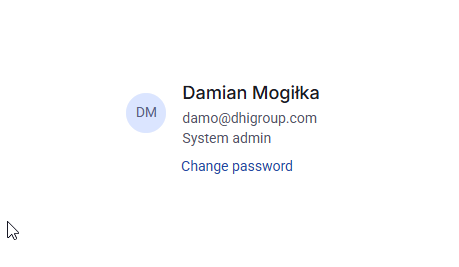
Figure 4. User profile page with the Change password action.
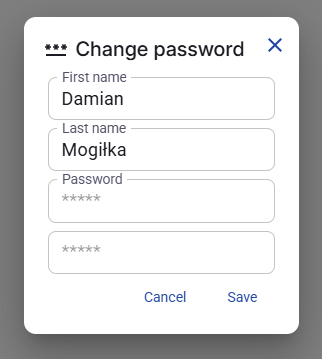
Figure 5. Change password window opened from the user profile page.
2.8 Planning Backoffice entry from the profile menu
If the logged-in user has the required rights, the Planning Backoffice option is visible in the profile menu. Clicking it opens the Planning Backoffice area.
2.9 Language selection
The Language option opens a list of available interface languages.
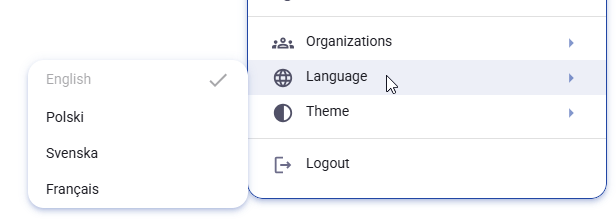
Figure 6. Language selection menu with the available interface languages.
2.10 Theme selection
The Theme option allows the user to switch between Light, Dark, and System. The System option follows the theme settings of the operating system used by the person viewing the application.
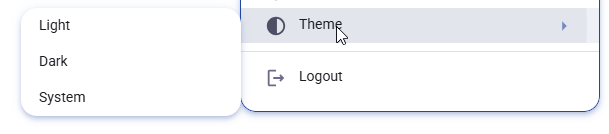
Figure 7. Theme selection menu with Light, Dark, and System options.
2.11 Logout
The last option in the profile menu is Logout. Clicking this option signs the user out of the application.
3. User View
3.1 Status tab overview
The Planning View is used to review committed configuration data and calculation results. At this stage of the manual, only the main selection and filtering controls in the Status tab are described.
The left panel contains the fields used to choose the result view, Catchment, Subcatchment, Baseline scenario, Treatment scenario, and Contaminant. The map on the right updates according to the current selections.
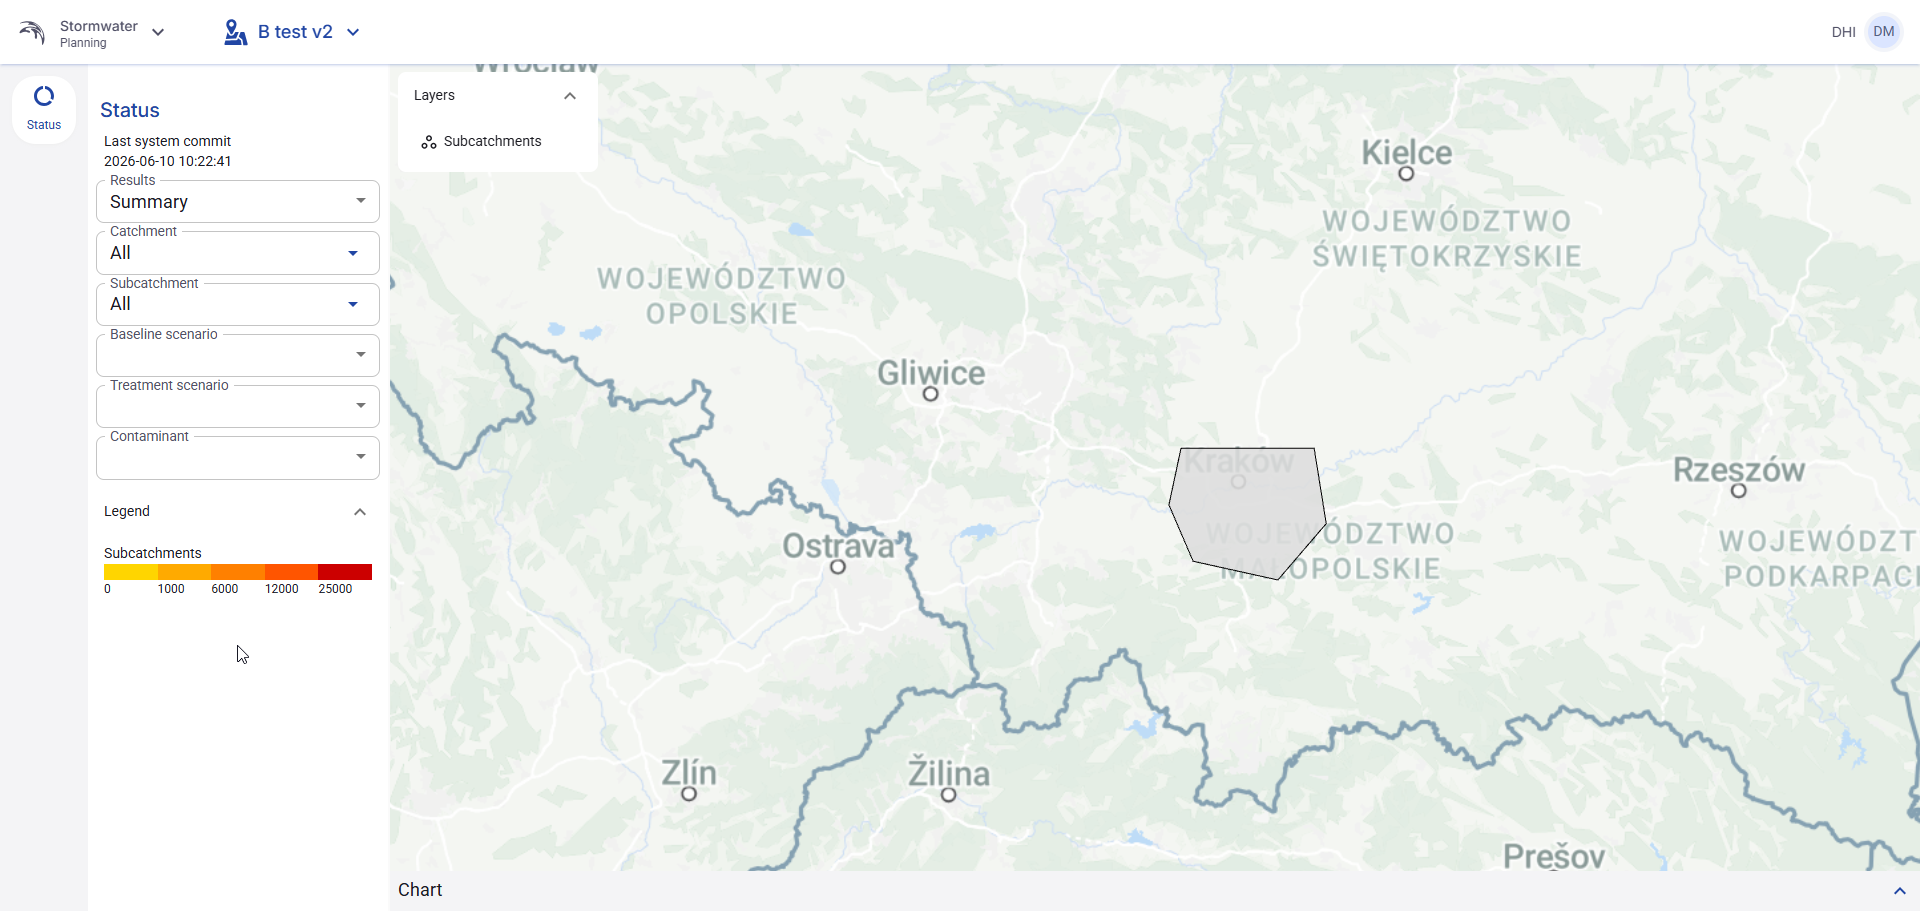
Figure 85. Planning View - Status tab overview with the result and scenario filters.
3.2 Results view type
Use the Results field to choose how the calculation output is shown. The available options shown in the current interface are Summary and Detailed.
Select Summary for a general result view. Select Detailed for a more detailed result presentation.
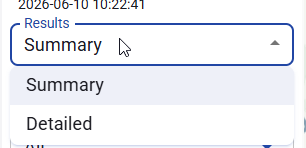
Figure 86. Results view type selector with Summary and Detailed options.
3.3 Catchment filter
Use the Catchment field to limit the results to one Catchment. The default value All keeps all Catchments visible.
After a specific Catchment is selected, the rest of the Status tab works only inside that Catchment context.
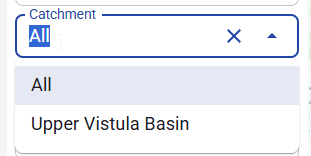
Figure 87. Catchment selector in the Status tab.
3.4 Subcatchment filter
Use the Subcatchment field to narrow the results further inside the currently selected Catchment. If no specific Subcatchment is selected, the value remains All.
This field is used after choosing a Catchment when the user wants to review only one Subcatchment area.
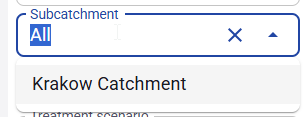
Figure 88. Subcatchment selector in the Status tab.
3.5 Baseline scenario selection
Use the Baseline scenario field to choose the baseline result set that should be reviewed on the map. The selected Baseline scenario defines which baseline calculation results are used in the current view.
A Treatment scenario is selected on top of the chosen Baseline scenario. This means the Baseline scenario should be chosen first.
3.6 Treatment scenario selection
Use the Treatment scenario field to choose the treatment variant that should be displayed for the current Baseline scenario. Only scenarios available for the current Baseline scenario can be selected here.
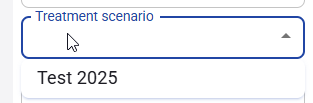
Figure 89. Treatment scenario selector in the Status tab.
3.7 Contaminant selection
Use the Contaminant field to choose which contaminant result is displayed. The list contains the contaminants configured in the system, for example Arsenic, Cadmium, Chromium, Copper, Mercury, Nitrogen, Lead, TSS, and Zinc.
After a contaminant is selected, the map and legend update to show the selected contaminant results for the chosen Catchment, Subcatchment, and scenarios.
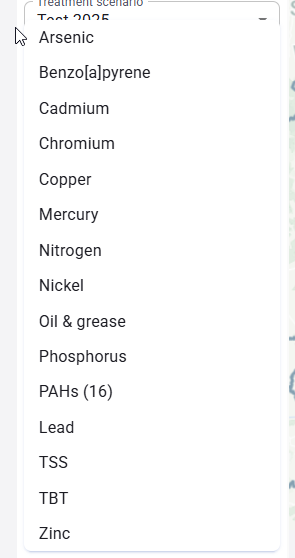
Figure 90. Contaminant selector in the Status tab.